The #1 Expert Guide to Powerful Network Cable Installations in 2024
Why Network Cable Installations Are Crucial for Your Business
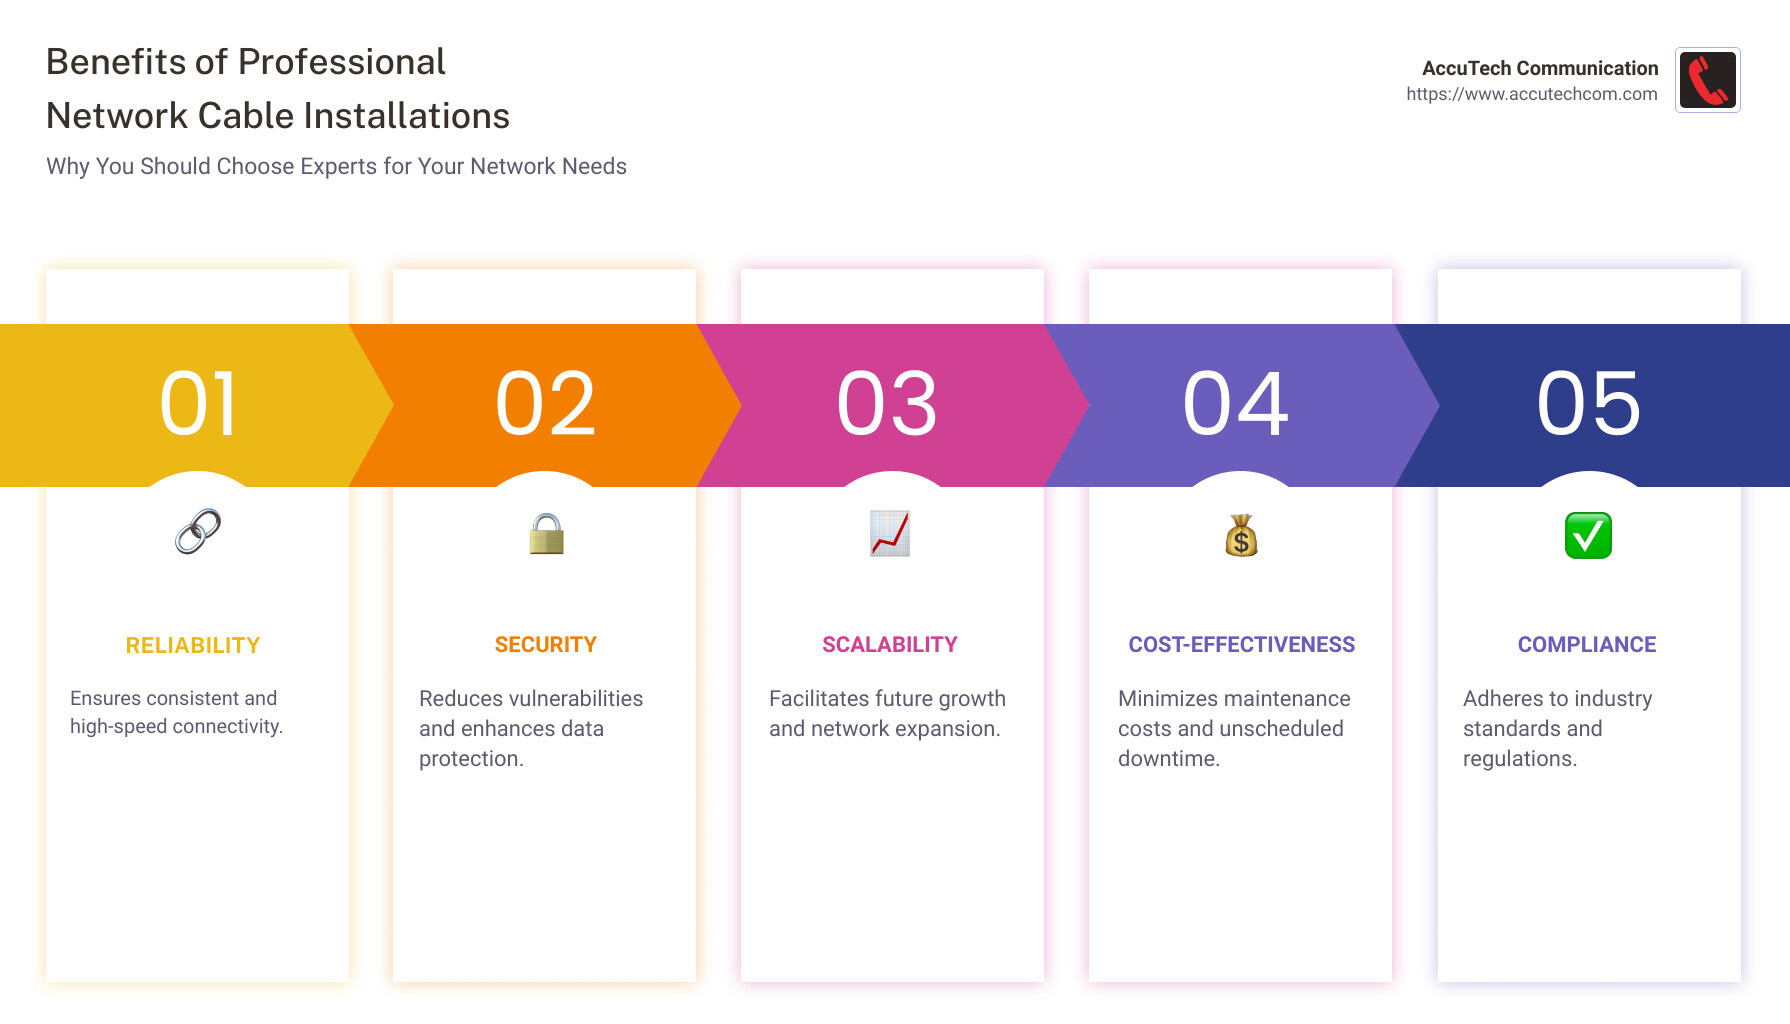
Network cable installations are the backbone of any modern business communication system. Whether you’re a healthcare facility, a manufacturing plant, or an educational institution, a well-installed network ensures fast, reliable, and secure data transmission.
Key Points on Network Cable Installations:
– Network cable installations provide the infrastructure for all internet, phone, and data communication.
– Proper planning and execution can prevent data bottlenecks and outages.
– Using the right type of cables (e.g., Cat 6, fiber optic) ensures high performance and scalability.
Network cable installations might seem like an ordinary task, but they are essential for ensuring that your organization’s communication and data systems run smoothly. Inadequate or poorly installed cabling can lead to network downtime, unexpected costs, and security vulnerabilities.
As the owner of AccuTech Communications, I’ve been helping businesses with their network cable installations since 1993. Our team has the expertise to handle any situation, ensuring that your network is installed correctly and efficiently.
Understanding Different Types of Network Cables
Choosing the right type of network cable for your installation is crucial. Let’s break down the three main types: twisted pair, coaxial, and fiber optic.
Twisted Pair
Twisted pair cables are the most common in network installations. They consist of pairs of wires twisted together to reduce electromagnetic interference (EMI).
Types of Twisted Pair Cables:
– Cat 5e: Ideal for small-to-medium-sized networks, supporting speeds up to 1 Gbps.
– Cat 6: Suitable for high-performance networks with speeds up to 10 Gbps over short distances.
– Cat 6a: Improved to reduce crosstalk and support 10 Gbps over longer distances.
Twisted pair cables are often used in office environments for connecting computers to switches, routers, and patch panels.
Coaxial
Coaxial cables are commonly used for video and certain data applications. They have a central conductor surrounded by insulation, a metallic shield, and an outer insulating layer.
Advantages of Coaxial Cables:
– Durability: Highly resistant to EMI, making them reliable for long-distance transmission.
– Versatility: Used in various applications, including CCTV systems and cable internet.
While not as common in modern network setups, coaxial cables still play a role in specific scenarios where their robustness is needed.
Fiber Optic
Fiber optic cables are the go-to choice for high-speed data transfer over long distances. They use light to transmit data, which makes them immune to EMI.
Types of Fiber Optic Cables:
– Single-mode: Best for long-distance communication, often used in telecom and large data centers.
– Multi-mode: Suitable for shorter distances, such as within a building or campus.
Benefits of Fiber Optic Cables:
– High Bandwidth: Capable of handling vast amounts of data at very high speeds.
– Long Distance: Can transmit data over much longer distances without loss of signal quality.
– Security: Difficult to tap into, offering improved security for sensitive data.

Fiber optic cables are increasingly used in modern networks, especially where high performance and security are priorities.
Understanding these different types of network cables will help you make informed decisions for your installation, ensuring optimal performance and reliability.
Next, we’ll dive into the planning process for your network cable installation.
Planning Your Network Cable Installation
Planning is crucial for successful network cable installations. Proper planning ensures efficiency, minimizes downtime, and avoids costly mistakes. Here are key elements to consider:
Site Survey
A thorough site survey is the first step. This involves:
- Assessing the Layout: Understand the building’s layout. Identify where network devices will be placed and where cables need to run.
- Identifying Obstacles: Look for physical barriers like walls, ceilings, and floors. These can complicate cable runs.
- Planning for Future Growth: Consider future expansion. Install extra cabling and outlets to accommodate future needs.
Tip: In one project, AccuTech engineers finded that planning for future growth saved a client over $5,000 in additional installation costs later on.
Cable Management
Good cable management is essential for maintaining an organized and efficient network. Here’s how to manage cables effectively:
- Labeling: Label both ends of each cable. This helps in troubleshooting and maintenance.
- Using Cable Trays and Ties: Use trays and ties to keep cables neat and organized. This prevents tangling and damage.
- Separation of Cables: Keep power and data cables separate to avoid interference.
Quote: “Efficient cable management is not just about aesthetics; it’s about functionality and ease of maintenance,” says an AccuTech technician.
Access Points
Access points are critical for ensuring good network coverage. Proper placement is key:
- Strategic Placement: Place access points where they can provide the best coverage. Avoid placing them near large metal objects or electronic devices that can cause interference.
- Testing: Test the coverage area to ensure there are no dead spots. Adjust the placement as needed.
Case Study: AccuTech helped a healthcare facility improve their network by strategically placing access points. This eliminated dead zones and improved overall network performance.
By carefully planning your network cable installation, you can ensure a smooth and efficient process. Next, we’ll explore best practices to follow during the installation.
Best Practices for Network Cable Installations
Cable Labeling
Labeling your cables might seem like a small step, but it’s crucial for maintaining an organized network. Cable labeling helps you quickly identify connections, which is especially useful during troubleshooting or upgrades.
- Consistency: Use a consistent labeling scheme. For example, label both ends of the cable with the same identifier.
- Visibility: Make sure labels are easy to read. Use clear, durable labels that won’t fade or fall off over time.
- Documentation: Keep a record of your labeling scheme. This can be a simple spreadsheet listing each cable and its corresponding label.
Quote: “Your cabling work should be at the patch level, in the rack, at the desk and so forth,” says a network engineer from Reddit. Proper labeling is part of this essential organizational work.
Right Angles
Running cables at right angles can make a big difference in both the performance and longevity of your network.
- Avoid Sharp Bends: Sharp bends can damage the cables and degrade performance. Aim for smooth, 90-degree angles.
- Cable Trays and Conduits: Use trays and conduits to guide cables along right angles. This not only protects the cables but also keeps them tidy.
- Proper Length: Ensure cables are cut to the right length. Excess cable can lead to tangles and increased signal degradation.
Case Study: A small business saw a 20% improvement in network speed after re-routing their cables to avoid sharp bends and using proper right angles.
Testing Cables
Testing your cables before and after installation ensures that your network will perform optimally.
- Pre-Installation Testing: Test cables before installation to ensure they are not defective. Use a cable tester to check for continuity and signal quality.
- Post-Installation Testing: Once installed, test the entire network to make sure all connections are working correctly. Look for issues like signal loss or interference.
- Regular Maintenance: Periodically retest your network to catch any issues early. This can prevent minor problems from becoming major headaches.
Fact: According to Reddit users, network engineers often find that “the variety is nice” when it includes tasks like cable testing, which ensures reliable network performance.
By following these best practices, you can ensure that your network cable installation is efficient, organized, and reliable. Next, we’ll discuss common challenges you might face and how to overcome them.
Common Challenges and Solutions in Network Cable Installations
Interference
Interference happens when external signals disrupt your network. This can be from electrical equipment, fluorescent lights, or even other cables.
Solution: Use shielded cables like Cat 6a or fiber optic cables to minimize interference. Keep your network cables away from power lines and other sources of electrical noise.
Fact: As noted by a Reddit user, network engineers often have to troubleshoot interference caused by improper cable placement. So, plan carefully!
Physical Barriers
Walls, ceilings, and floors can make cable installation tricky. Drilling and running cables through these barriers requires special tools and skills.
Solution: Use structured cabling services to design an efficient layout. AccuTech Communication offers specialized services to handle these challenges, ensuring compliance with building codes and national standards.
Quote: “For smaller companies with small server rooms/racks, yes, sometimes I do it myself,” says one network engineer. But for larger, more complex installations, hiring professionals is often necessary.
Cable Length
Exceeding the maximum cable length can result in signal loss and poor network performance. Ethernet cables have a max length of 100 meters (328 feet).
Solution: Measure your cable runs before installation. Use repeaters or switches to extend network range if needed. Always test your cables to ensure they meet performance specifications.
Tip: Reddit users suggest that cable testing is crucial to catch any issues early. Regular maintenance can prevent minor problems from becoming major headaches.
By understanding these common challenges and solutions, you can better prepare for your network cable installation. Up next, we’ll walk you through a step-by-step guide to installing network cables.
Step-by-Step Guide for Installing Network Cables
1. Select Location
Choosing the right location is crucial for a successful network cable installation. Your network’s performance depends on it.
Tip: Reddit users recommend conducting a thorough site survey. Identify where your network devices, such as routers and switches, will be placed. Consider future expansion and ensure easy access for maintenance.
2. Measure Cabling
Accurate measurements save time and prevent waste.
Steps:
1. Measure the distance between network devices.
2. Account for vertical and horizontal runs.
3. Add extra length for routing around obstacles and making connections.
Fact: According to AccuTech Communication, precise measurements can prevent the need for costly adjustments later on.
3. Run Cable Through Walls
Running cables through walls requires careful planning and execution.
Steps:
1. Drill entry and exit points.
2. Use fish tape or rods to guide the cable through walls.
3. Protect cables from sharp edges and potential damage.
Tip: Use cable management solutions like conduits or raceways to keep cables organized and protected.
4. Test Connection
Testing ensures your installation meets performance standards.
Steps:
1. Use a network test tool to check each cable.
2. Verify signal strength and connectivity.
3. Label each cable for easy identification.
Quote: “Cable testing is crucial to catch any issues early,” says a Reddit user. Regular maintenance can prevent minor problems from becoming major headaches.
By following these steps, you can ensure a smooth and efficient network cable installation. Next, we’ll discuss the essential tools and equipment needed for the job.
Tools and Equipment Needed for Network Cable Installations
Having the right tools is crucial for successful network cable installations. Below, we’ll cover the essential tools you need: Punch Down Tool, Crimping Tool, and Network Test Tool.
Punch Down Tool
A punch down tool is used to terminate wires into a punch down block, patch panel, or keystone jack.
Why It’s Important:
– Ensures secure and reliable connections.
– Helps maintain signal integrity.
How to Use:
1. Insert the wire into the appropriate slot.
2. Punch down the wire using the tool, ensuring it’s snug and secure.
3. Trim excess wire if needed.
Pro Tip: Make sure to use a punch down tool with a cutting blade to save time and ensure clean cuts.
Crimping Tool
A crimping tool is used to attach connectors, like RJ45 plugs, to the ends of network cables.
Why It’s Important:
– Creates a secure and stable connection.
– Essential for customizing cable lengths.
How to Use:
1. Strip about an inch of the cable jacket.
2. Arrange the wires according to the T568A or T568B standard.
3. Insert the wires into the RJ45 connector.
4. Crimp the connector using the tool until it clicks.
Pro Tip: Double-check the wire order before crimping to avoid mistakes that can disrupt network performance.
Network Test Tool
A network test tool helps verify that your cables are functioning correctly and meet performance standards.
Why It’s Important:
– Detects wiring issues like shorts or miswiring.
– Ensures each cable meets required specifications.
How to Use:
1. Connect the tool to both ends of the cable.
2. Run the test to check for continuity and signal strength.
3. Review the results and troubleshoot any issues.
Quote: “Cable testing is crucial to catch any issues early,” says a Reddit user. Regular maintenance can prevent minor problems from becoming major headaches.
By equipping yourself with these essential tools, you can ensure a smooth and efficient network cable installation. Next, let’s dive into the cost considerations for network cable installations.
Cost Considerations for Network Cable Installations
Understanding the cost factors involved in network cable installations is crucial for budgeting and planning. Let’s break down the primary cost elements: labor, cable quality, and pre-existing components.
Labor Cost
Labor costs can vary significantly based on the complexity of the installation and the rates in your area.
- Basic Installations: Simple setups, such as installing a few cables in a small office, generally incur lower labor costs.
- Complex Projects: More intricate projects, such as cabling a large corporate campus or a data center, will naturally cost more due to the increased time and expertise required.
Pro Tip: Hiring a professional can save you time and ensure the job is done correctly. As one Reddit user put it, “Take the job if it pays well enough for your situation, rub elbows with some of your customers, and find a way to get into an IT career path with higher salary potential.”
Cable Quality
The type and quality of the cable you choose will also impact the overall cost.
- Cat 5e Wiring: Suitable for small-to-medium-sized networks and generally more affordable.
- Cat 6 and Cat 6a Wiring: Ideal for high-performance networks and data centers, but more expensive.
- Fiber Optic Cabling: Best for high-speed data transfer over long distances, but comes at a premium price.
Case Study: AccuTech Communications offers a variety of cabling options to meet different needs and budgets. Their services range from Cat 5e for smaller setups to fiber optic cabling for high-speed requirements.
Pre-existing Components
Utilizing pre-existing components can significantly reduce costs.
- Existing Conduits and Pathways: If your building already has conduits and pathways for cables, you can save on installation time and material costs.
- Existing Network Equipment: Reusing existing network switches, routers, and other equipment can also cut down expenses.
Fact: According to AccuTech Communication’s network cabling services, efficient organization and management of cables can facilitate easy access and maintenance, potentially saving costs in the long run.
Summary Table
| Cost Factor | Description | Cost Impact |
|---|---|---|
| Labor | Varies by complexity and location | Low to High |
| Cable Quality | Cat 5e, Cat 6, Cat 6a, Fiber Optic | Medium to High |
| Pre-existing Components | Uses existing infrastructure and equipment | Low |
Understanding these cost considerations will help you make informed decisions for your network cable installation project. Next, we’ll explore the pros and cons of DIY versus professional network cable installations.
DIY vs. Professional Network Cable Installations
Choosing between DIY and professional network cable installations can be tricky. Let’s break down the pros and cons of each option and help you decide when to hire a professional.
DIY Network Cable Installations
Pros:
- Cost Savings: Doing it yourself can save money on labor costs.
- Flexibility: You can work on your own schedule without waiting for an appointment.
- Learning Opportunity: It’s a great way to learn about your own network infrastructure.
Cons:
- Skill Level: Requires a certain level of technical knowledge and tools.
- Time-Consuming: Can take a lot longer than hiring a professional.
- Risk of Errors: Mistakes can lead to connectivity issues and additional costs.
Professional Network Cable Installations
Pros:
- Expertise: Professionals bring years of experience and specialized skills. According to a Reddit user, “Structured Cabling is yes. Very good knowledge and could lead to more depending on how you want to go with it.”
- Efficiency: Professionals can complete the job faster and more efficiently.
- Quality Assurance: They offer testing and certification to ensure everything works perfectly.
- Support: Ongoing support and maintenance are often included.
Cons:
- Cost: Higher upfront costs for labor and materials.
- Scheduling: You may need to wait for an available appointment.
When to Hire a Professional
Complex Projects: If your installation involves complex requirements like fiber optic cabling or integrating VoIP systems, it’s best to hire a professional.
Large Scale: For extensive projects, such as corporate campuses or data centers, professional expertise is invaluable. AccuTech Communication offers a broad spectrum of network cabling services designed to suit various business needs, including large corporate campuses.
Compliance and Certification: If your project needs to meet specific industry standards, a professional can provide the necessary certification. According to AccuTech Communication, they offer “certification services to verify that your cabling system complies with industry standards.”
Time Constraints: If you need the job done quickly and correctly, professionals can save you a lot of time and hassle.
Choosing the right approach depends on your specific needs, budget, and technical skills. Next, let’s dive into some frequently asked questions about network cable installations.
Frequently Asked Questions about Network Cable Installations
What is the typical cost of network cable installation?
The cost of network cable installations can vary widely based on several factors. According to industry insights, the price typically ranges from $150 to $200 per cable.
Here are the main factors that influence the cost:
- Cable Type: Cat 5e is generally cheaper than Cat 6 or fiber optic cables.
- Labor: Professional installation costs more but ensures quality and compliance with standards.
- Complexity: Running cables through walls, ceilings, or long distances can increase costs.
- Location: Urban areas might have higher labor costs compared to rural areas.
For a more detailed estimate, it’s always best to consult with a professional like AccuTech Communications.
Do I need an electrician to install network cable?
Not necessarily. While electricians are skilled in handling electrical wiring, network cable installations are often handled by specialized technicians.
Here’s why:
- Specialized Knowledge: Network cable installers are trained to handle data and voice cabling, which differs from electrical wiring.
- Tools and Equipment: They have the right tools for tasks like crimping, testing, and terminating network cables.
- Compliance and Standards: They ensure that installations meet industry standards, which is crucial for network performance and safety.
In some cases, if the installation involves running cables through electrical conduits or dealing with power sources, an electrician’s expertise might be needed. However, for most network cabling tasks, a dedicated technician or a service provider like AccuTech Communications is the best choice.
What are the best practices for installing network cables?
Successful network cable installations require adherence to best practices to ensure optimal performance and longevity. Here are some expert tips:
- Cable Labeling: Always label both ends of each cable. This makes future troubleshooting and maintenance much easier.
- Avoid Right Angles: Sharp bends can damage the cables and degrade performance. Aim for gentle curves instead.
- Testing Cables: Use a network test tool to verify each cable’s functionality before finalizing the installation.
- Proper Cable Management: Organize and secure cables to avoid tangling and to facilitate easy access. This also helps in maintaining airflow and preventing overheating in data centers.
- Maintain Distance from Electrical Lines: Network cables should be kept away from power lines to minimize interference and signal degradation.
Using these best practices ensures that your network remains reliable and efficient.
Next, we’ll wrap up with some concluding thoughts and tips for future-proofing your network.
Conclusion
At AccuTech Communications, we pride ourselves on delivering top-notch network cable installations that stand the test of time. Our team of skilled technicians and engineers ensures that your network infrastructure is not only optimized for peak performance but also future-proofed to adapt to the changing technology landscape.
Future-Proofing Your Network
Future-proofing is essential to ensure your network remains robust and scalable. Here are some key tips:
- Use High-Quality Cables: Opt for Cat 6 or Cat 6a wiring for high-performance networks. These cables support higher data transfer rates and are more resistant to interference.
- Plan for Growth: Design your network with future expansion in mind. Allocate extra space in your cable management systems and patch panels to accommodate additional cables.
- Upgrade Regularly: Technology evolves rapidly. Schedule regular upgrades to your network equipment and cabling to ensure optimal performance and security.
Maintenance Tips
Proper maintenance is crucial for the longevity and reliability of your network. Here are some essential maintenance tips:
- Regular Inspections: Conduct periodic checks to ensure all cables and connections are in good condition. Look for signs of wear and tear or damage.
- Cable Management: Keep your cables organized and labeled. This makes it easier to troubleshoot issues and perform upgrades.
- Testing and Certification: Regularly test your network cables to ensure they meet performance specifications. Certification services can help verify compliance with industry standards.
- 24/7 Support: Having access to round-the-clock support ensures that any urgent repair or troubleshooting needs are addressed promptly.
By following these tips, you can ensure that your network remains reliable and efficient, minimizing downtime and maximizing productivity.
Ready to optimize your network infrastructure? Contact AccuTech Communications today for a reliable, stable, and affordable partner in network cable installations. Your network is the backbone of your business; let us help you make it stronger.
