Network Closet Readiness Checklist Before Cabling Installation
A network closet readiness checklist helps you find room, pathway, access, and coordination problems before a structured cabling crew arrives. The goal is not to design the room from a generic template. It is to confirm that the approved project can be installed, tested, labeled, and handed off in the actual space.
This matters in both new construction and occupied-building retrofits across Massachusetts, New Hampshire, and Rhode Island. A closet can look finished while still lacking a confirmed cable entrance, usable rack position, coordinated power, or a reliable way to identify the links that will terminate there.
Quick answer: A network closet is ready when the room is accessible, the rack and pathway plan match field conditions, related trades have completed their assigned work, the installation area is clear, and the project team can name the evidence required at handoff. Unresolved safety, power, grounding, environmental, or code questions should be escalated to the responsible qualified professional before cabling starts.
Start with the approved room plan
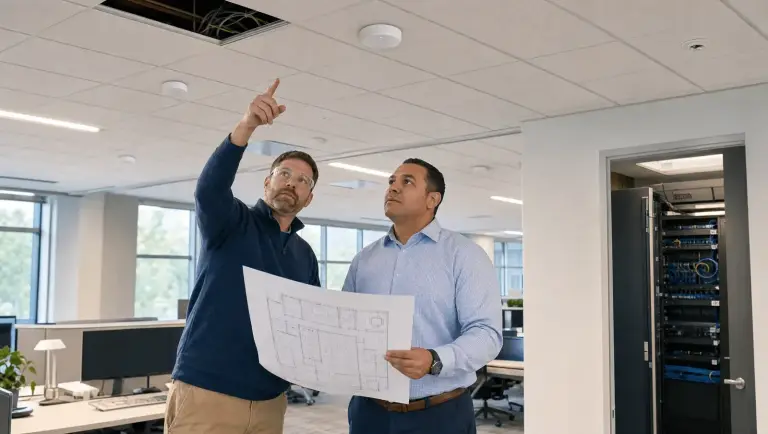
Bring the current floor plan, cabling drawings, endpoint schedule, rack elevation, and responsibility list to the walkthrough. Do not rely on a room name alone. The architectural drawing, IT inventory, door label, and cabling schedule may use different identifiers for the same space.
- Confirm the building, floor, room number, and closet identifier.
- Verify which work areas, devices, or downstream closets will terminate there.
- Mark the planned cable entrance and the route to the rack or cabinet.
- Identify owner-furnished, contractor-furnished, and other-trade components.
- Record open decisions with an owner and due date instead of treating them as field assumptions.
The Telecommunications Industry Association describes TIA-569 as the standard for telecommunications pathways and spaces. Project teams should use the applicable approved design, standards, local requirements, and qualified trade input for the specific building rather than copying dimensions or requirements from an online checklist.
Use a readiness matrix, not a yes-or-no guess
Classify each item as ready, correct before mobilization, or escalate. This makes the walkthrough actionable and separates ordinary coordination from conditions that need design, electrical, mechanical, safety, or code review.
| Readiness area | Evidence to capture | Decision |
|---|---|---|
| Room access | Approved access hours, key or escort process, clear work zone, and delivery route | Ready when the crew can enter and stage without blocking operations or egress |
| Pathway | Field-verified entrance, sleeves or tray, accessible pull route, and assigned penetration work | Correct when the route differs from the drawing; escalate unresolved rated assemblies or hazardous conditions |
| Rack or cabinet | Installed location, usable mounting space, hardware ownership, and working clearance | Ready when termination hardware has a confirmed position and installation sequence |
| Power and environment | Responsible-trade confirmation for power, cooling, moisture, lighting, and grounding or bonding coordination | Escalate anything outside the approved design or cabling contractor’s assigned scope |
| Records | Room name, rack and panel naming, endpoint schedule, test-file convention, and closeout owner | Ready when one identifier follows the link from drawing to label to test result |
Walk the cable entrance and full approach
Stand where the pathway enters the closet and trace the planned approach to the termination point. Check whether the route shown on the drawing exists, is accessible, and ends where the rack plan expects it to end. Note ceiling conditions, access panels, occupied pathways, tight transitions, and work controlled by another trade.
In an existing New England commercial building, the route may cross a basement, loading area, exterior-adjacent wall, mechanical zone, or older finished space. Treat each condition as something to verify in the field. Do not assume that an indoor-looking route is dry, conditioned, accessible, or available for new cable.
If the project needs new sleeves, conduit, innerduct, tray, firestopping, or surface repair, the readiness record should name who supplies and installs it. Accutech’s network cabling installation service covers new and existing commercial network environments; the project scope should still define the exact pathway and trade boundaries for your site.
Confirm the rack and termination layout
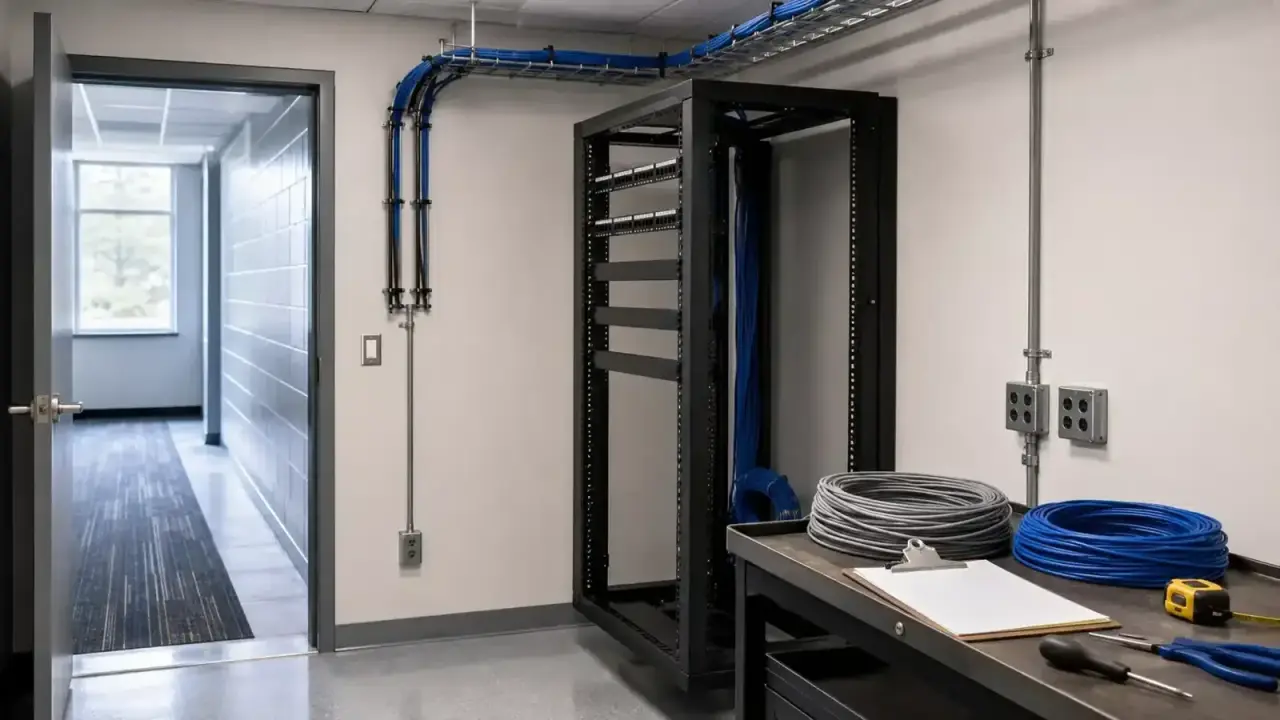
A rack can be present and still be unusable for the planned work. Compare the rack elevation with the actual equipment, patch panels, cable managers, power equipment, and reserved space. Confirm which components may be moved and which must remain live.
- Match the rack or cabinet identifier to the drawings and endpoint schedule.
- Confirm the planned patch-panel position and cable-manager arrangement.
- Identify active equipment and circuits that cannot be disturbed.
- Check that the cable approach does not force sharp, crowded, or obstructed routing.
- Reserve a clear location for labels and a practical way to inspect terminations later.
If the field layout no longer matches the rack elevation, update the plan before installation. A redlined decision made during the walkthrough is more useful than an unwritten change discovered during termination.
Coordinate power, grounding, cooling, and safety
The cabling team should not silently absorb work assigned to an electrician, mechanical contractor, engineer, building owner, or other qualified party. Record who confirms power availability, environmental conditions, lighting, equipment support, grounding or bonding, and any required permits or inspections.
Stop and escalate visible water, damaged construction, exposed energized parts, blocked access, unsafe storage, or other conditions that could affect the work. The readiness checklist is a coordination tool, not a substitute for a safety assessment or code review.
Lock the naming and test-record plan
Decide how the room, rack, panel, port, outlet, backbone, and test file will be named before labels are printed. Use one stable link identifier across drawings, schedules, labels, and test exports. A future technician should be able to start at an outlet and find the corresponding patch-panel port and record without decoding private shorthand.
Confirm the required test level, report format, exception process, and recipient. The readiness meeting should answer who reviews failures, who approves corrective work, and which files make the installation complete. Those requirements should agree with the project’s structured cabling scope of work.
Document the handoff to the installation team
Finish the walkthrough with a short room-readiness record. Include dated photos, marked-up drawings, the matrix above, open-item owners, due dates, and a go/no-go decision. Do not bury unresolved items in meeting notes.
- List every condition that must be corrected before mobilization.
- Assign each item to a named role or trade.
- Set the verification method: photo, drawing revision, written confirmation, or follow-up walkthrough.
- Identify decisions that require professional design, code, or safety review.
- Issue the final room identifier, pathway plan, rack elevation, and endpoint schedule to the field team.
Accutech’s structured cabling services support commercial projects throughout Massachusetts, New Hampshire, and Rhode Island. If you are preparing a network closet for new cabling, request an estimate and share the current drawings, endpoint count, room photos, access restrictions, and known pathway conditions.